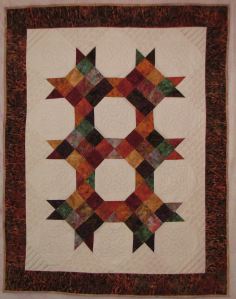
This post is not about food, but I think it’s my blog and I can branch out and do other Home Economics topics if I want. I took a class in January to learn to make a quilt. Everyone in the class selected their own fabric, so even though we all made the same pattern, each one had a different look. The class was organized by Sew Refreshing, the local quilt shop in town. I learned a lot from the class, mostly about “piecing the quilt top” which is the part of making a quilt where you make the pretty top using one of hundreds of named block styles, or making up your own. Although we discussed the remaining steps of the project in our class, we didn’t get hands-on instruction.
The next step in the quilt-making process is to select a backing fabric and purchase batting. The backing fabric is just what it sounds like–a large piece of one fabric that forms the back of the quilt. The batting is the stuffing in the middle that makes it thick, and warm. My husband helped me put the three layers together using spray baste–an aerosol can of sticky stuff that holds the three layers together while the quilt is “quilted”. We laid a piece of plywood over saw horses in the garage for that part of the process, because you want a well-ventilated area and you don’t want the spray to get on something you care about (like, say, your dining room table).
In the class, I learned that most people make their quilt tops and then send them out to be quilted. “Quilting” is the process of using thread to hold the three layers of the quilt together. Sometimes a quilt can be a simple series of lines criss-crossing the quilt in a diagonal pattern. Other times, the quilting draws elaborate designs that may be even more intricate than the quilt top. Since I undertook this project to learn new skills, I decided not to send my quilt out but to learn to do it myself on my own sewing machine.
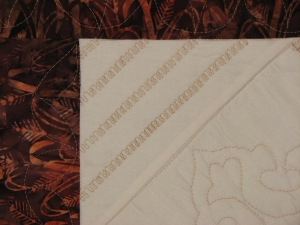
Thank goodness for the library! I checked out many books on machine quilting and learned many techniques, most of which I was incapable of doing myself. I kept practicing and finally found some patterns that I could do. Using my new Singer 9970 (thanks to my hubby for the Valentine’s Day gift), I used one of the decorative stitches on the machine to quilt in the corners.
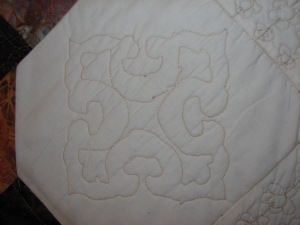
That looked okay, but it wasn’t really what I wanted. I marked the quilt top with a design that I traced from a book (library again) and found that I was capable of free-motion quilting this pattern. Free-motion quilting is like drawing on the fabric. When you draw with a pencil, you move the pencil and the paper is still. With free-motion quilting, the needle goes up and down in one place and you move the quilt underneath it. Your stitches may be long or short, depending on how fast the needle is moving and how fast you move the quilt. It is hard to do. But I managed to quilt a nice motif in the open blocks of my quilt.
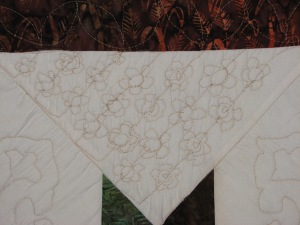
While I worked on this, I pondered what to do in the remaining blocks. I wanted to try a design that I could do without drawing it on. That is when I found my new favorit blog, The Inbox Jaunt. Every Tuesday, Lori Kennedy posts a new free-motion quilting design with instructions for practicing it. I found that I could reasonably well approximate her design called The Daisy Chain. I had trouble with the tails, so in some cases I made a spiral in the middle of the daisy to lead to the next one. In other cases, I created a double petal design. Mine is not exactly like Lori’s (here), but it is organic looking and pretty.
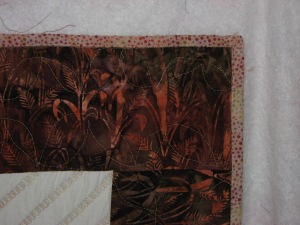
Sewing on the binding is the last part of making a quilt. Now, if you watch any quilt binding tutorial on You Tube, the quilting expert will say, “I usually bind my quilts by hand but people wanted to see how to do it by machine so here you go.” Although I like to do lots of things the old-fashioned way, sewing by hand is not for me. So, Iwatched a few tutorials and tested the stitches on my new machine, and finally was ready to do it. I think my mitered corner turned out pretty good.
So there is my first quilt. I made a second quilt top in a second class, and it will be my bed quilt when I’m done. But for more practice before I get to that, I’m making a summer quilt, and a few baby quilts (just to have for shower gifts–there’s nothing going on here people!).
Leave a comment